On this page
Roof rehabilitation in the United Arab Emirates is a specialist discipline. Surface temperatures regularly exceed 70 °C during summer, the diurnal swing exposes the substrate to constant thermal cycling, and salt-laden humidity attacks both the membrane and embedded fasteners. A reliable rehabilitation outcome depends on following a disciplined, repeatable methodology — not a single product.
Step 1 — Diagnosis
Every rehabilitation begins with a condition survey: visual inspection, moisture mapping by capacitance or thermal imaging, lift tests of the existing membrane, and core sampling where the build-up is unknown. The objective is to determine whether the existing membrane can be over-coated, requires localised repair, or must be fully stripped.
Step 2 — Surface preparation
Surface preparation is the single largest determinant of long-term adhesion. The minimum standard for liquid systems is mechanical grinding or shot-blasting to a clean, sound, profiled substrate. Loose mineral cap, bitumen blisters, and contaminated areas must be removed back to a tightly bonded base. For polyurea systems, a CSP 3–5 profile and primer are mandatory.
Step 3 — Detailing
All upstands, drains, expansion joints, and penetrations are detailed first using a reinforcement fabric embedded in the same chemistry as the main membrane. Detailing failures account for the majority of post-rehabilitation leaks.
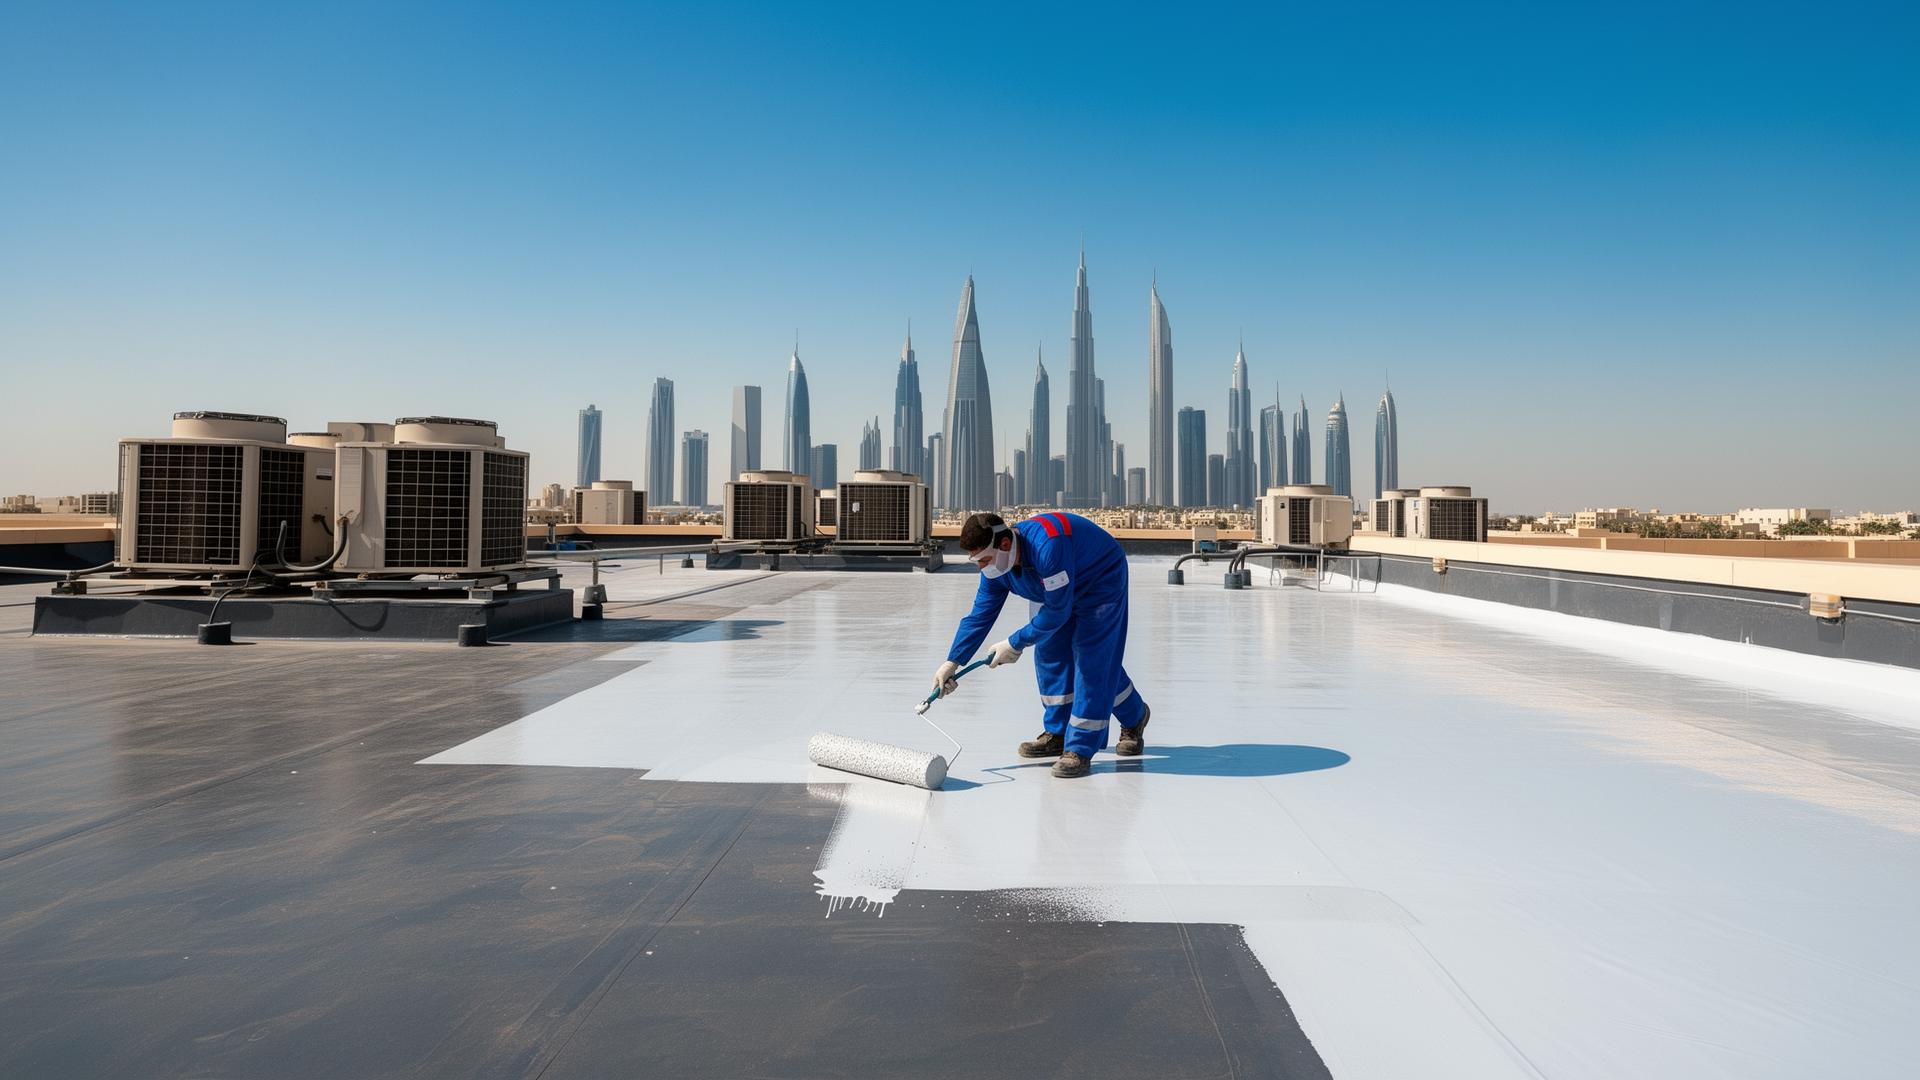
Step 4 — Main membrane
The main membrane is applied to the engineered thickness in one or two passes depending on system. For pure polyurea, wet-film and dry-film thickness are continuously monitored using a wet-film gauge during spray and a magnetic DFT gauge after cure.
Step 5 — Acceptance testing
A 48-hour flood test is the industry-standard acceptance test for accessible roof areas. Pull-off testing per ASTM D4541 verifies adhesion, and electronic high- or low-voltage holiday testing identifies pinholes that visual inspection misses.
- Hand-over with as-built drawings, system data sheets, and pull-off test certificates.
- Annual visual inspection schedule for the first three years.
- Joint and drain re-detailing at year 5 as preventive maintenance.